


I remember when I started coding as a CS student, I used to start each project in a separate folder to keep things clean and be able to find each project easily, especially that was the case for the homework and other projects.
While the programs I was writing were super simple and basic everything was fine. As the projects got bigger and bigger, I started making copies of the folders before making substantial changes. It was obvious that making all the changes on the files in the main folder could make it impossible to go back to the working version, but after some time, I had a few folders each of them with some good changes that I wanted to keep and some bad changes I needed to revert and that strategy fell short quickly.
Soon after that, I learned about an amazing tool called Git and a platform named Github. Despiting looking intimating at the beginning once I got familiar with the concepts, they became my bread and butter as a developer and after many many years, they have proven incredibly useful.
In this tutorial, we'll go through the basic concepts in a step-by-step fashion and we'll see an example for each step. By the end of this tutorial, you should have a good understanding of how to use Git and GitHub to manage your code.
Before we move on, remember you can implement your websites or landing pages with or without coding on DoTenX for free. Make sure to check it out and even nominate your work to be showcased.DoTenX is open-source and you can find the repository here: github.com/dotenx/dotenx.
I assume you have installed Git on your machine and have an account on Github. To verify if Git is installed you can open up your terminal and type in the following command:
git --version
If Git is installed, you should see something like this:
git version 2.17.1
If haven't installed Git, you can download it from the official Git website and follow the instructions.
Creating a Repository on GitHub
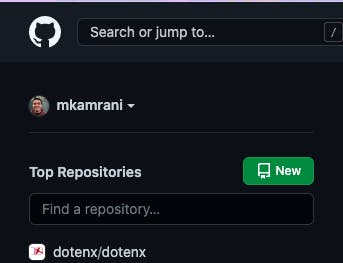
Let's start by creating a repository on Github. A Git repository is a place you can store your files, including the codes, and other assets such as images, and track the changes to it.
Once you log in to your Github account, there are multiple ways to create a new repository and all of them have the same functionality.

However you start creating a new repository, you'll be presented by a form like this:
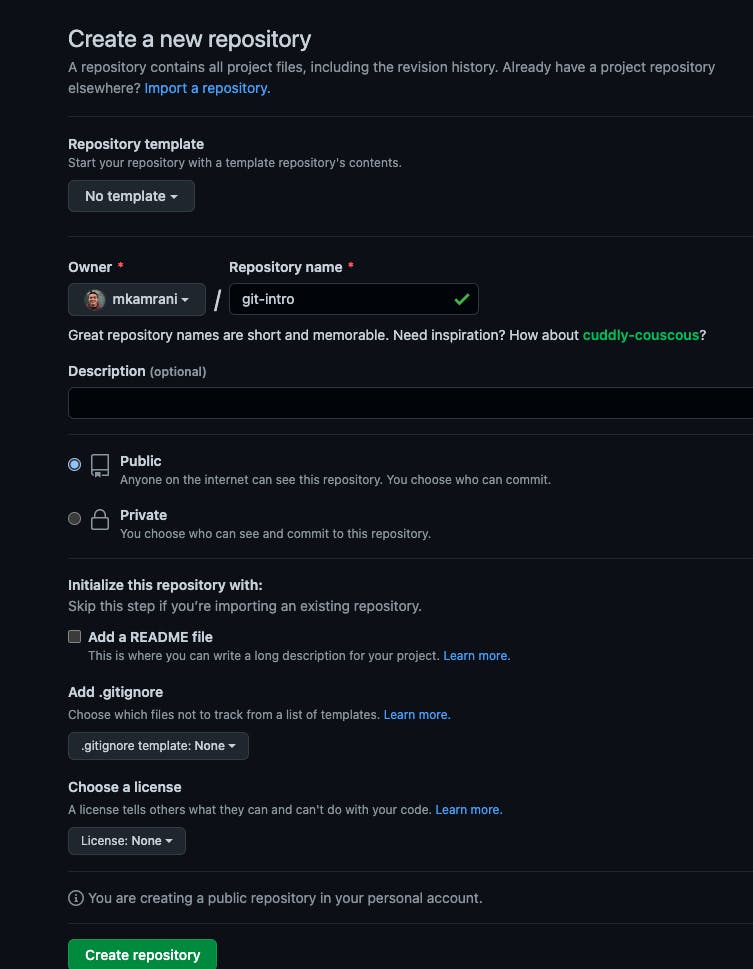
In this form, set a name for your repository and leave the options as they are or change them as you wish. The options are pretty self explanatory, the only thing worth mentioning is .gitignore.
.gitignore is a file that gives Git instructions about which files it should not track. For example if you create a project with Node.js or ReactJs you don't want Git to track the changes in node_modules folder that's why you add node_modules as a separate line to this file.
Cloning the Repository
After creating the repository on Github, we clone it on our local machine so we have a replica of the repository locally which is connected to the remote repository (on Github).
Now, open up your terminal and go to the directory where you want to store your repository on your machine and type the following command:
git clone [repository URL]

// e.g. git clone https://github.com/mkamrani/git-intro.git
Making Changes
Now that you have a local copy of the repository, you can start making changes, such as adding new files, editing or deleting them.
Remember that Git can perfectly track any text file, whether it's just a .txt file or a source code in any programming language.
Let's run the following command to create a text file which will be detected as a change by Git:
echo "Hello, git" > greeting.txt
This command creates a file named greeting.txt. If you open up the file, Hello, git! is added as to it.
Committing Changes
So far we have simulated some changes to the local repository. In a more realistic scenario, you would have created a few files containing your source codes.
Now, it's time to commit these changes to save a snapshot of your code at a particular point in time. This helps you to go back in time/history of your repository, if you make any unwanted changes or if you simply want to see the origin of some changes.
First we stage all the changes with the following command:
git add .
Then we commit the changes with a message that helps us to remember why this change was made:
git commit -m "A useful message about the change"
Pushing Changes to GitHub
So far all the changes you have made and the commit you created are only available on your machine. This means if you share the url of the repository with someone else to clone it, they won't see any of your changes, even if you clone the repository in another directory.
Now, to sync the repository between your local machine and the remote repository on Github you need to push the changes:
git push origin main
This command pushes your changes to the default branch of your repository, named main.
Congrats! Using what you have learned so far you can keep track of whatever change you make from now on, however, usually when multiple developers work on a project, you never directly push your changes into the main branch.
Creating a Branch
You remember I mentioned about me copying folders to keep multiple versions of my code at the beginning? Git has a better solution for this and it's called branch. A Git branch is simply a separate version of your code. You can create a branch to work on a new feature, or to fix a bug without affecting the main branch of your repository.
Now, let's create a new branch:
git branch [branch name]
// e.g. git branch new-feature
This command just creates a new branch or local version of the repository. To switch to you new branch use git checkout command:
git checkout [breanch name]
Now whatever changes you make will be saved to this new branch without affecting the main branch.
Creating a Pull Request
Let's make some changes, commit and push them:
echo "Git is awesome" >> greeting.txt
git add .
git commit -m "Add a new line to greeting.txt"
git push origin new-feature
Notice that in the git push command we have used the name of our new branch instead of main because that's the branch/version we want to push to our remote repository.
Now that we have pushed our changes there is one last step until the main branch gets all the changes we made in our new branch, which is a pull request.
As you can see the way Git works is that you keep creating branches, or local versions, you modify them and push them and then integrate your changes into the main branch using a pull request.
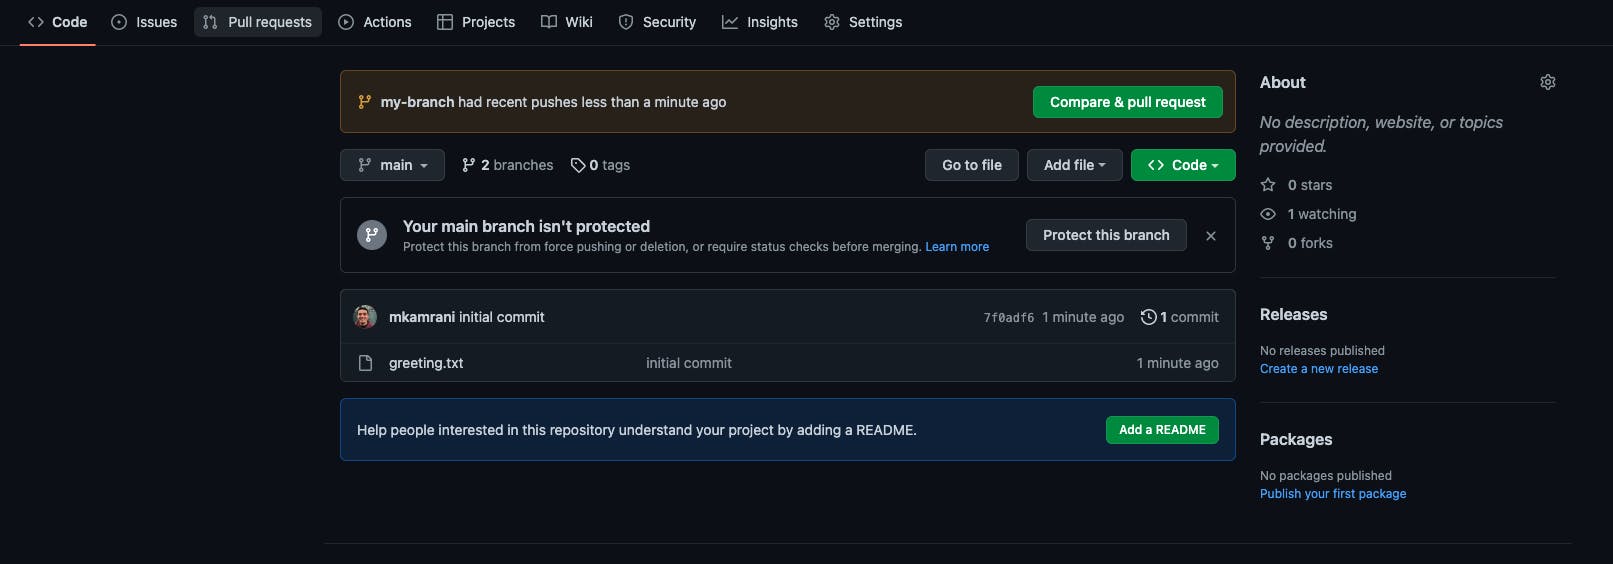
Right after you push a branch, Github shows you a shortcut to create a pull request(PR) which usually has the right settings. You can also create a PR from the pull request tab.
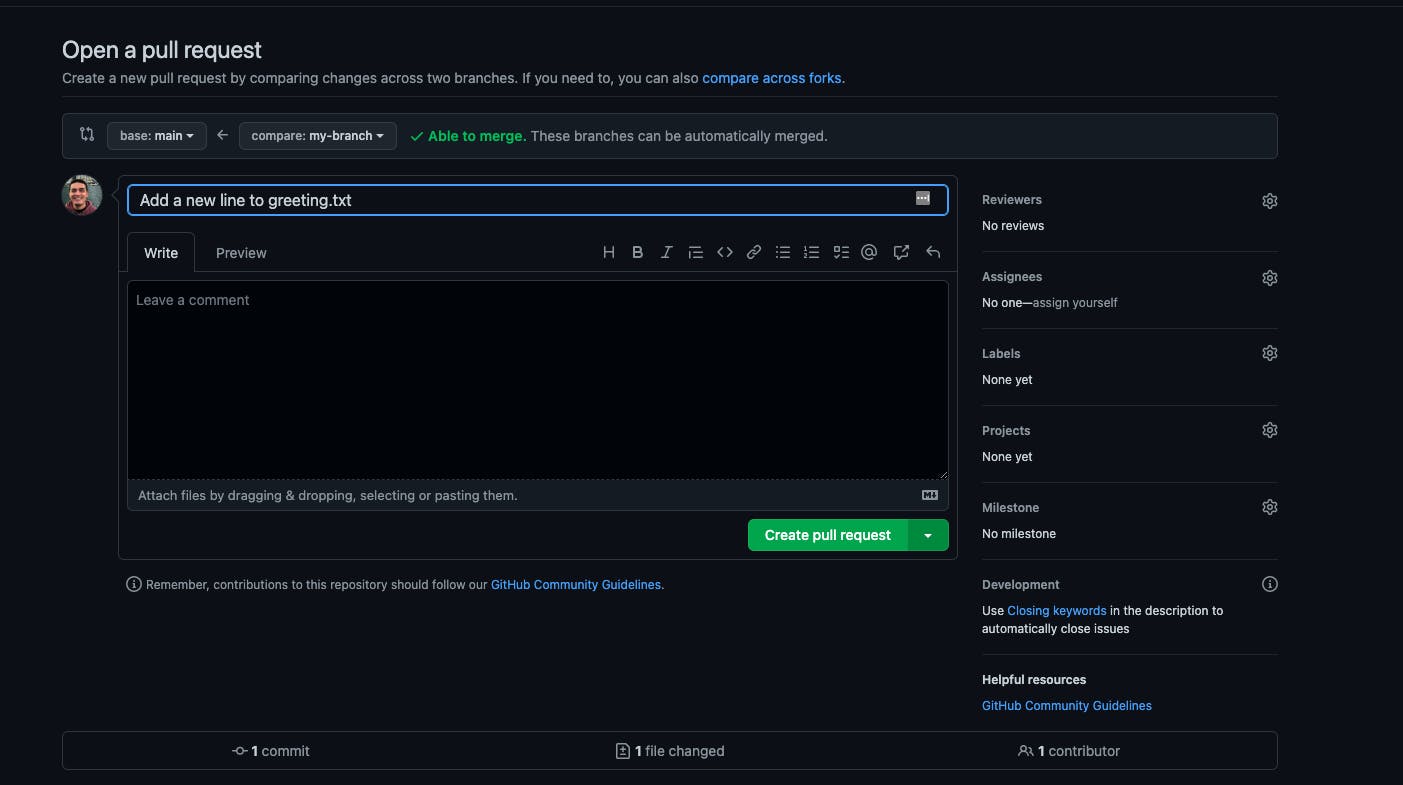
When you creat the PR, your teammates or whoever is responsible for reviewing the changes will go through your changes. During the review, they might leave some comments asking you for some changes or they might right away accept the changes. Ultimately, if the PR is accepted it will be merged into the main branch.